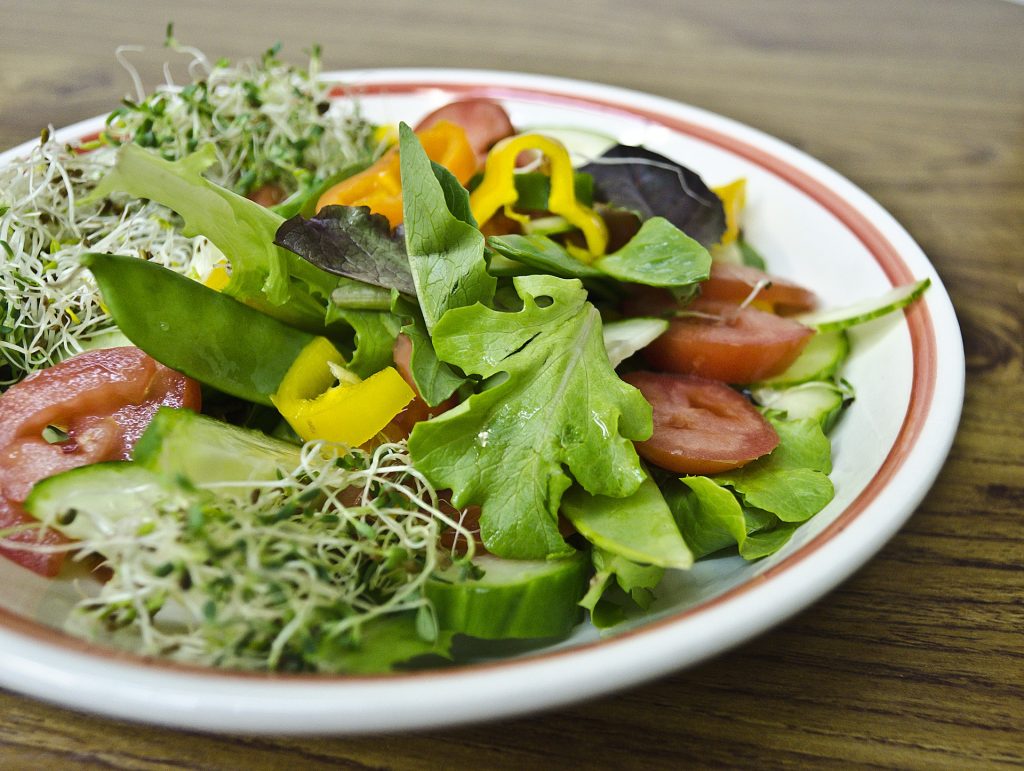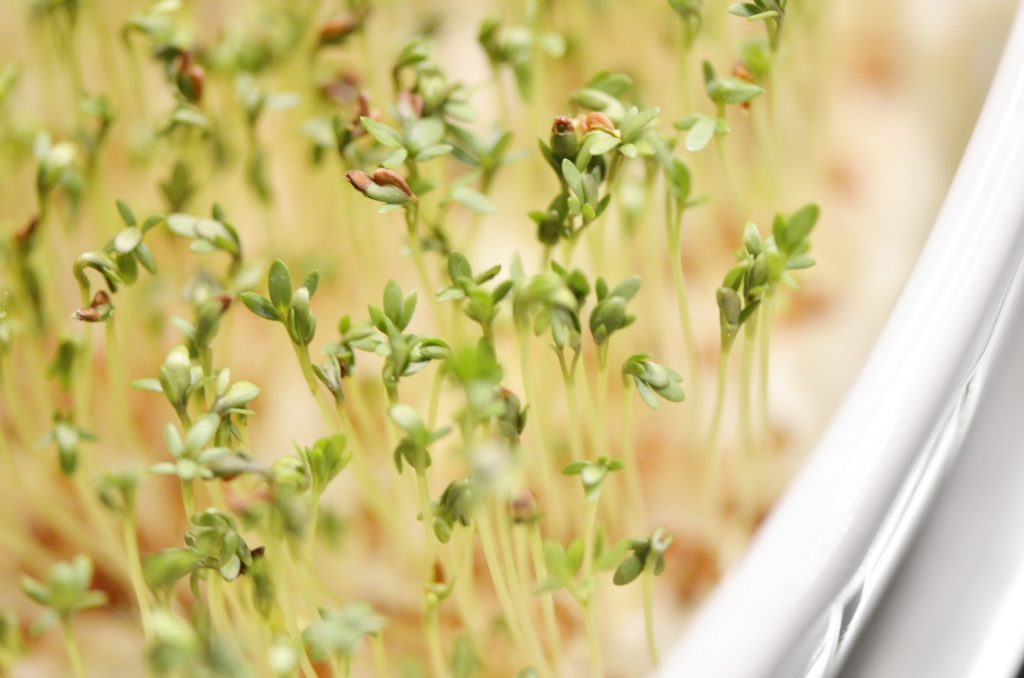
Sprouted, shoots or microgreens foods come from grains or seeds that, in contact with water, oxygen and a certain temperature, initiate biochemical processes that give rise to the beginning of the life cycle of a plant.
They are live foods that offer high concentrations of nutrients (proteins, fiber, vitamins, and minerals) and a low level of calories. In addition, they allow easy digestion, thanks to the increased activity of certain enzymes that are only deactivated when these foods are cooked at elevated temperatures.
Sprouts are still poor in antinutritional factors, substances such as phytic acid or tannin that block the absorption of minerals such as iron, calcium, and zinc.
Cereals (wheat, barley, rice or rye …), legumes (alfalfa, soybeans, beans, grains, peas, peanuts or lentils …), vegetables (watercress, radishes, garlic, carrots or beets …), oilseeds (walnuts, almonds, hazelnuts, pine nuts or cashews …) or seeds (sunflower, pumpkin, sesame, quinoa or chia …) can be sprouted and then used to make juices, smoothies, soups, salads, main courses or even desserts (see texts in “How to do it”).
How to sprout

Choose the grain or seed of the food or foods you want to sprout and the amount you need. If you chose a grain, for example, then place two full hands in a glass bowl filled with water and covered with a clean cloth. The cup must be in a place without direct light, for 8 to 12 hours.
After this soaking time, remove the grains from the water and place them on a large cloth and well moistened, as it will serve to start the sprouting process. The grains should be covered with a cloth in a dark and cool place for three to five days, depending on the species. During this period it is essential to keep the cloth moist, so do not forget to spray the cloth with water once or twice a day, depending on the season of the year. On the third day, you will see that the shoots have begun to come out of the grain, which means, they are ready to be consumed. If you only want to use sprouts two or three days later, then use the refrigerator to slow and conserve germination.
How to create microgreens

The process is similar to the process of sprouting, albeit for a longer period. To create microgreens place the grains or seeds in a microperforated container, preferably with an organic substrate. Then water it in a way to keep the grains or seeds always wet so that the sprouting can be done and the first definitive leaves begin to appear. Those tender trunks and leaves are the so-called microgreens. You simply have to cut the small plant with scissors so that it can be consumed, and grow again for the second time, but now with less energy and nutrients.
The most used microgreens are arugula, peas, mustard, radishes, coriander or beet…
Reinforce your awareness about recipes at:
https://www.docelimao.com.br/site/ from Conceição Trucom,
https://verdadeirodetox.com from Elias Pereira,
http://alimentovivo.org/curso-vem-pra-cruzinha/lista-de-espera/ from Rita Zumberlan
Book “As Receitas da Cura Alcalina” from Stephan Domening and Heinz Earlacher,
Book “As Delícias de Ella Todos os Dias” from Ella Woodward
Feel more about nutrition in:
Main dishes to surprise at home
Raw and lively nutrition friend of our cells
Food must respect the “nature and state” of the Human Being
Does an obsession with perfect nutrition is an imbalance?
How the elements of nature interact
Three Philosophical Principles of Life


